Table of Contents
- Why Freshness Changes Everything in Artisan Coffee
- Essential Equipment for Brewing Artisan Coffee
- Coffee Grind Size Chart for Brewing Methods
- The Coffee-to-Water Ratio Guide
- Mastering Water Temperature and Quality
- Step-by-Step Brewing Methods for Fresh Artisan Coffee
- How to Store Artisan Coffee Beans for Freshness
- Troubleshooting Common Brewing Issues
- Frequently Asked Questions
Last Updated: September 8, 2026
Why Freshness Changes Everything in Artisan Coffee
The single biggest upgrade you can make to your morning cup isn’t a new machine or a pricier bean. It’s timing.
Freshly roasted coffee releases carbon dioxide for days after roasting, a process called degassing. Brew too early and the gas interferes with extraction; wait too long and the volatile aromatic compounds that carry tasting notes like berry, chocolate, or dried orange begin to fade.
At Promise Roast Co., we roast every order individually after you place it, with a 1-5 day processing window designed to ship beans at their peak. That means the coffee you brew fresh artisan coffee from arrives in its optimal window, not after weeks on a warehouse shelf.
The practical takeaway: know your roast date, not just your “best by” date. If a bag doesn’t tell you when it was roasted, that’s a signal the roaster isn’t prioritizing freshness.
Essential Equipment for Brewing Artisan Coffee
You don’t need a lab to brew exceptional coffee, but a few pieces of gear make consistency dramatically easier. The essentials break down into four categories: grinding, weighing, heating water, and brewing.
A burr grinder is the most important purchase you’ll make. Blade grinders chop beans unevenly, producing a muddy, bitter cup; burr grinders crush beans between two surfaces for uniform particle size, which directly improves extraction.
A digital scale with 0.1-gram precision removes guesswork from your coffee-to-water ratio, since volume measurements are wildly inconsistent because bean density varies by roast level and origin.
For water, a gooseneck kettle with temperature control gives you precision for pour-over methods; a standard kettle works fine for immersion methods like French press.
Finally, choose your brewer. The main categories are pour-over (V60, Chemex), immersion (French press, AeroPress), and automatic drip. If you’re just starting, a simple pour-over cone and paper filters cost under $30 and deliver excellent results.
Coffee Grind Size Chart for Brewing Methods
Grind size controls how quickly water extracts soluble compounds from the coffee. Match the grind to your brew time, and you’ll avoid the two most common flavor faults: sour, under-extracted coffee from grinds that are too coarse, and bitter, over-extracted coffee from grinds that are too fine.
| Brew Method | Grind Size | Visual Reference | Brew Time |
|---|---|---|---|
| Espresso | Fine | Table salt | 25-30 seconds |
| Pour-over (V60) | Medium-fine | Sand | 2.5-3 minutes |
| Drip machine | Medium | Beach sand | 4-6 minutes |
| French press | Coarse | Sea salt | 4 minutes |
| Cold brew | Extra coarse | Breadcrumbs | 12-24 hours |
This coffee grind size chart for brewing methods serves as your starting point. Adjust based on taste: if your cup tastes sour and weak, grind finer; if it tastes harsh and bitter, grind coarser. Change one variable at a time.
A common mistake is treating grind size as fixed. Humidity, bean origin, and roast level all shift the ideal setting. A dark roast like our 6Bean Blend extracts faster than a light roast, so it often benefits from a slightly coarser grind.
The Coffee-to-Water Ratio Guide
The Specialty Coffee Association’s golden ratio is 55 grams of coffee per liter of water, roughly 1:18 (sca.coffee). Most home brewers find a 1:16 ratio, or about 30 grams of coffee to 480 grams of water, produces a balanced cup.
This coffee-to-water ratio guide gives you a framework, but personal preference matters. Start here and adjust:
- Strong, bold cup: 1:14 (more coffee)
- Balanced standard: 1:16
- Lighter, tea-like: 1:17 to 1:18
Weight beats volume every time. A kitchen scale removes the variance of scoop sizes and bean density. For a single 12-ounce mug, that’s roughly 21-24 grams of coffee depending on your target strength.
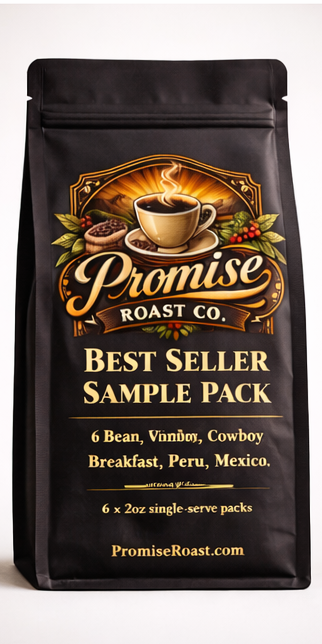
For reference, our brewing recipes for the Best Sellers Sample Pack suggest 3 tablespoons (18-20 grams) of coffee per 12 ounces of water for a standard coffee maker, which lands near a 1:16 ratio.
Mastering Water Temperature and Quality
Water is 98% of your cup, yet most brewers treat it as an afterthought. Mineral content, the actual chemistry of your water, determines whether those expensive beans taste vibrant or flat.
The ideal brewing temperature sits between 195°F and 205°F (90-96°C) (peer-reviewed research). Water at a full rolling boil, 212°F, will scorch delicate compounds. If you don’t have a temperature-controlled kettle, let water rest 30-45 seconds after boiling before pouring.
But temperature is only half the story. The minerals dissolved in your water act as extraction agents. Two key players matter most:
- Magnesium extracts fruity and acidic flavor compounds efficiently, making it ideal for light-roast single origins.
- Calcium contributes body and sweetness but can bind with coffee compounds and slow extraction if present in excess.
Sodium and potassium do little for extraction and can taste salty or flat at higher levels. Bicarbonate acts as a buffer, and too much neutralizes the acids that give coffee its brightness.
The Specialty Coffee Association publishes a water quality standard many competition brewers follow: total hardness around 150 ppm, alkalinity near 40 ppm, and a pH of 7.0. You don’t need lab equipment to get close. A simple approach:
- Start with your tap water. If it tastes strongly of chlorine or minerals, a basic carbon filter pitcher removes chlorine and large particulates.
- Check your water’s hardness. Most municipal water reports are public and list hardness in ppm. If you’re above 200 ppm, consider blending with distilled water, roughly 50/50, to bring mineral content into range.
- Avoid distilled or softened water entirely. Distilled water has no minerals to extract with; softened water swaps calcium for sodium, which flattens flavor.
A practical middle ground used by many specialty shops is a remineralization additive. Products like Third Wave Water offer pre-measured mineral packets designed to be added to distilled water, hitting the target profile without guesswork.
For most home brewers, the sequence is: filter your tap water, taste the coffee, and if it still tastes hollow or harsh, look up your municipal water report. If hardness is above 200 ppm or alkalinity is above 100 ppm, switch to a remineralized distilled water for a side-by-side test.
Water temperature interacts with mineral content. Hard water extracts faster, so you may need a slightly lower brew temperature (around 198°F) to avoid bitterness; soft water extracts slower, so pushing toward 205°F can help.
Step-by-Step Brewing Methods for Fresh Artisan Coffee
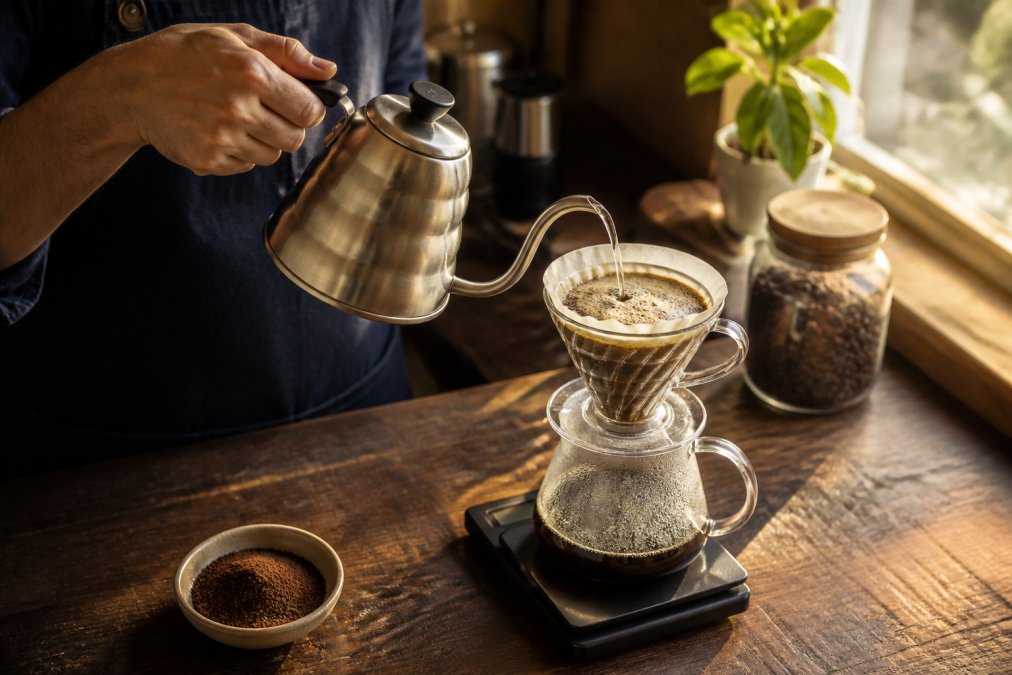
Pour-over brewing rewards patience and precision. Here’s the method we recommend for showcasing single-origin beans, adapted from the Specialty Coffee Association’s brew guide:
- Heat water to 205°F (96°C) and place a paper filter in your dripper. Rinse the filter with hot water to remove paper taste and preheat the brewer.
- Weigh and grind 30 grams of coffee to a medium-fine consistency, similar to sand.
- Add coffee and create a divot in the center of the bed with your finger. This helps water distribute evenly.
- Bloom: Pour 60 grams of water in slow circles, just enough to saturate the grounds. Wait 30-45 seconds. Fresh coffee will swell and bubble as carbon dioxide escapes. A weak or absent bloom signals stale beans.
- Main pour: Continue pouring in slow, concentric circles up to 480 grams total water. Keep the pour gentle to avoid agitating the bed excessively, which causes channeling.
- Swirl and finish: Give the brewer a gentle swirl at the end to flatten the bed. Total brew time should land between 2:30 and 3:00.
The French press offers a more forgiving immersion method: coarser grind, 1:16 ratio, four-minute steep, then press and serve immediately. Leaving coffee sitting on the grounds continues extraction and turns bitter.
For a standard drip machine, use the medium grind from the chart and ensure your machine heats water hot enough. Many budget machines brew below 195°F, producing weak, sour coffee regardless of bean quality.
How to Store Artisan Coffee Beans for Freshness
Proper storage is how to store artisan coffee beans for freshness without losing the roast date advantage. Oxygen, light, heat, and moisture are the four enemies of coffee; minimize exposure to all of them.
The best container is the one the beans arrived in, assuming it has a one-way valve. Those valves let carbon dioxide escape during degassing while keeping oxygen out. Transferring beans to a separate canister often does more harm than good.
Keep beans in a cool, dark cabinet away from the stove or any heat source. Never refrigerate or freeze beans you’re actively using. Condensation introduces moisture, and coffee readily absorbs surrounding odors.
Buy in quantities you’ll use within two to three weeks. This is where roasting-to-order shines: a single-origin bag from Promise Roast Co. arrives days off the roast, giving you the full window of peak flavor. Grind only what you need immediately before brewing.
Troubleshooting Common Brewing Issues
When a cup tastes off, the fastest path to a fix is learning to taste like a professional. Most home brewers jump straight to changing grind size, but the pros use a structured sensory evaluation, cupping, to isolate what’s wrong.
Before you adjust anything, taste your coffee in three sips. The first sip tells you about aroma and acidity. The second, after the coffee cools slightly, reveals body and sweetness. The third, once it’s near room temperature, exposes defects and lingering aftertastes.
As you taste, run through this checklist:
- Is it sour, salty, or sharp? That’s under-extraction. Fix it by grinding finer, increasing brew time, or using hotter water.
- Is it bitter, harsh, or drying? That’s over-extraction. Fix it by grinding coarser, shortening brew time, or lowering water temperature.
- Is it both sour and bitter at the same time? That’s uneven extraction, often caused by channeling. Fix it by pouring more gently, ensuring an even bed before brewing, and using a consistent grind.
- Is it thin or watery? That’s usually a ratio problem. Add more coffee rather than brewing longer, which pushes you toward over-extraction.
- Is it muddy or gritty? In a French press, that means the grind was too fine, letting sediment through the mesh. Go coarser and shorten the steep slightly.
- Is there no bloom or weak aroma during the pour? The beans are stale. Freshly roasted coffee should visibly swell and release gas when it meets hot water. If it doesn’t, the roast date is too far back.
Beyond these basics, learn to identify specific flavor defects. A rubbery or burnt taste often indicates over-roasted beans or water that’s too hot. A papery flavor points to an unrinsed filter. A fermented, winey note can mean the beans were stored too long after roasting or exposed to moisture. A flat, cardboard-like taste is the signature of oxidation, beans that sat too long after grinding.
A common pattern among home brewers is chasing flavor faults by stacking fixes. If your coffee is both sour and weak, changing grind AND ratio AND temperature at once means you won’t know which adjustment helped. Isolate one variable, taste, then adjust again. Keep a simple log: date, bean, grind setting, ratio, water temperature, brew time, and tasting notes.
For a more rigorous approach, the Specialty Coffee Association’s cupping protocol is the industry standard. It uses a fixed ratio, a specific grind, and a structured tasting form to evaluate aroma, flavor, aftertaste, acidity, body, and balance. Borrowing its vocabulary, acidity, sweetness, body, finish, will sharpen your palate faster than random trial and error.
A practical exercise: brew the same coffee two ways on purpose, one clearly under-extracted (grind very coarse, brew for 1:30) and one clearly over-extracted (grind very fine, brew for 5:00). Taste both side by side with your normal cup. Knowing what sour and bitter taste like in isolation makes diagnosing future problems instinctive.
Frequently Asked Questions
How does artisan coffee differ from regular coffee?
Artisan coffee starts with high-quality, single-origin beans that are roasted in small batches, often after you place your order. This roasting-to-order approach means the beans reach you at their peak flavor, typically within 1-5 days of processing. Regular commercial coffee is often roasted in massive quantities and may sit on shelves for months, losing the delicate oils and aromatics that create complex tasting notes like fruit, chocolate, or citrus.
What is the 15-15-15 rule for coffee?
The 15-15-15 rule is a guideline for pour-over brewing that suggests using 15 grams of coffee for every 250 ml of water (a roughly 1:16 ratio), and pouring the initial water in a 15-second bloom phase. This framework can help beginners achieve a balanced extraction.
Is it 1 or 2 tablespoons of coffee per cup?
For a standard 6-ounce cup, two tablespoons (about 10-12 grams) of coffee is the common starting point. However, a digital scale is more accurate than a tablespoon measure. A good coffee-to-water ratio guide suggests starting with about 60 grams of coffee per liter of water, then adjusting to taste.
How does bean freshness impact the flavor profile of artisan coffee?
Freshly roasted artisan coffee beans contain volatile aromatic compounds and oils that create a vibrant, complex flavor. Once roasted, beans begin to degas and oxidize, losing these compounds. Coffee is at its peak between 3 days and 3 weeks after roasting. Proper storage in an airtight container away from light and heat is crucial to slow this process and maintain that fresh flavor.